Every year, the winter holidays require some creative holiday shopping. Shoppers seek out new decor, personal treats, and, of course, gifts for loved ones. But the latter category requires some further research as well, specifically for wrapping up presents.
After assembling all the necessary tools, there’s actually an ideal way to wrap those holiday gifts. This basic routine can then evolve into fun, stylish alternatives. But for the moment, these instructions provide the cleanest way to wrap a present without fail.
Helpful starting tips
Most gifts come in square or rectangular packages. As Country Living note, these end up the easiest to wrap. Should your present come in a different shape, consider a gift bag. Those still offer the gift giver the chance to get creative choosing the pattern, curling ribbon, or even making their own bag from wrapping paper! With this in mind, choose patterned paper that fits your or the recipient’s taste. But also keep this in mind: thicker paper is the best to work with. And, when applicable, look for paper with gridlines on one side. They’re an invaluable guide for cutting. Double-sided paper can be fun and offer two options in one, but be wary of the drawbacks they may present.
RELATED: Barry Williams Puts Twist On Old Christmas Tree With ‘Valentine’s Day Tree’
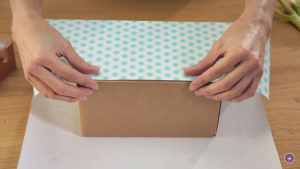
You’re ready to wrap things up…by starting the wrapping process. Unroll some paper from the roll, but don’t cut it just yet. Instead, leave enough room to set the gift face-down on the blank side of the paper. Cut around the present so each side could completely cover its respective side of the present. Next, here are some tricks of the trade to get those crisp edges. Stand on the same side as the wrapping paper roll. There, reach across and pull the opposite end of the paper taut over the gift’s edge. This is where, if you have double-sided tape, you can secure the wrapping paper in place against the present, though single-sided works as well.
The secret to neatly wrapping a present

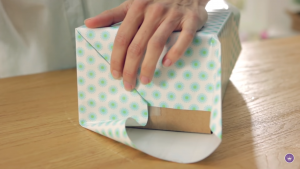
Now, you can unroll the paper further so that both ends meet. Let the paper hang over about an inch or so, then cut the paper from the roll. The paper can be taped. To seal up the sides, tackle one end at a time. With one hand on each corner, push the sides of the open flaps inward. As long as everything stays even, this should result in four angles. To keep the edges nice and crisp, crease along where the flaps can fold over before letting them fold one on top of the other. Again, secure with tape.
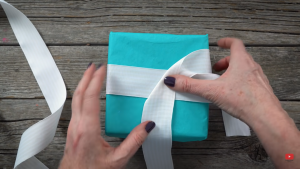
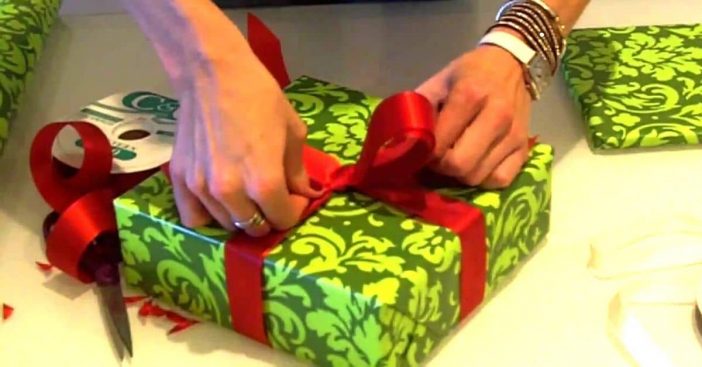
Repeat the process with the opposite side. For a smooth look, allow the top flap to line up with the edge of the box exactly and cut away any excess, following the grid and flow of the paper to stay straight. To reinforce all those crisp lines on the edges, carefully crease them with your thumb and forefinger. If you want to add thick decorative ribbon, cut a piece that’s seven times as long as the box and place the present face-down on it. Let the ends cross over, then tie a bow once the present’s flipped. Fold the ends together and cut a triangle from them to get those fancy ends. Final step: present your neatly wrapped present to one lucky recipient! Be sure to check the video for more instructions to ensure every present gets a great wrapping job.